
Connect a custom domain
Serve a Doxbrix reader site at your own subdomain, root domain or subpath, add the DNS records Doxbrix shows, and verify the domain and its SSL certificate.
A custom domain lets readers reach your documentation at an address you own, such as docs.example.com, instead of the hosted {slug}.doxbrix.app address. This guide shows you how to add the domain in project settings, create the DNS records Doxbrix gives you, and verify that the domain is live with SSL. Doxbrix issues and renews the SSL certificate for you.
Choose a connection type
Decide how the domain should serve your docs before you start, because each type needs different setup.
| Connection type | Example | What you set up |
|---|---|---|
| Subdomain | docs.example.com | A CNAME record plus any ownership record Doxbrix shows. Recommended for most sites. |
| Root domain | example.com | An A record at the zone apex plus any ownership record Doxbrix shows. |
| Subpath | example.com/docs | A reverse-proxy rule on your own hosting. No DNS records. |
Before you begin
- You need to be a workspace Owner or Admin, or an Owner or Admin of the project.
- Your plan must include custom domains. The limit counts domains across the whole workspace:
| Plan | Custom domains |
|---|---|
| Free | 1 |
| Starter | 1 |
| Pro | 3 |
| Business | Unlimited |
See Plans and limits reference.
- You need access to your domain's DNS provider, or for a subpath, to the proxy or CDN in front of your main site.
- The domain must not already be connected to another Doxbrix project.
Add the domain
On the dashboard, click the gear on the project card to open project settings, then click Custom Domains in the left navigation. The Connect a domain card appears with Connection type set to Subdomain. Domains you already added appear below it under Active domains, Subpath domains or Pending setup.
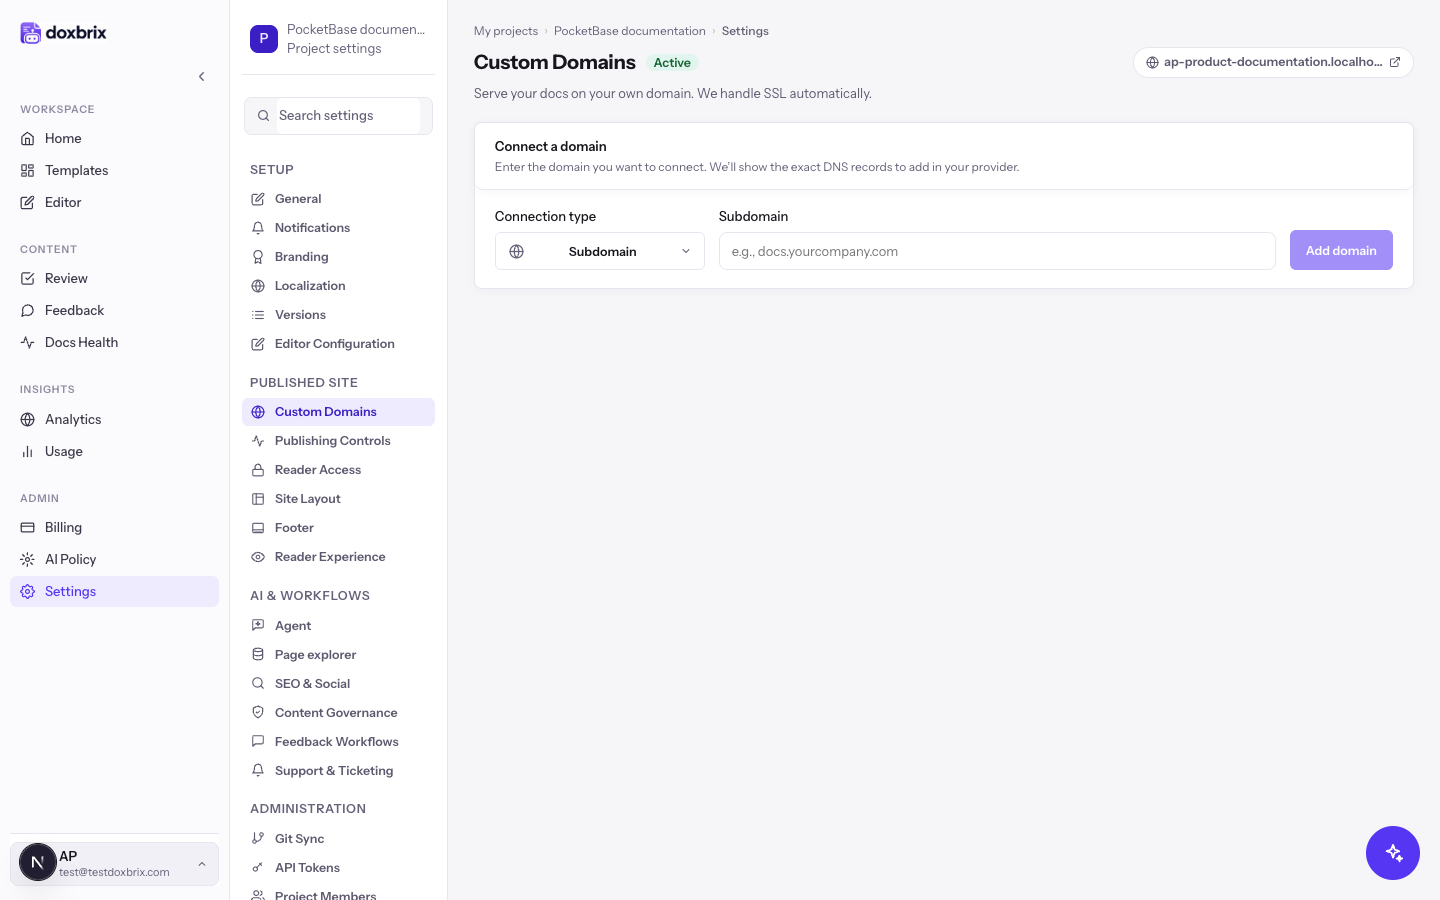
Open Connection type and choose Subdomain, Root domain or Subpath. The field next to it changes to match your choice.
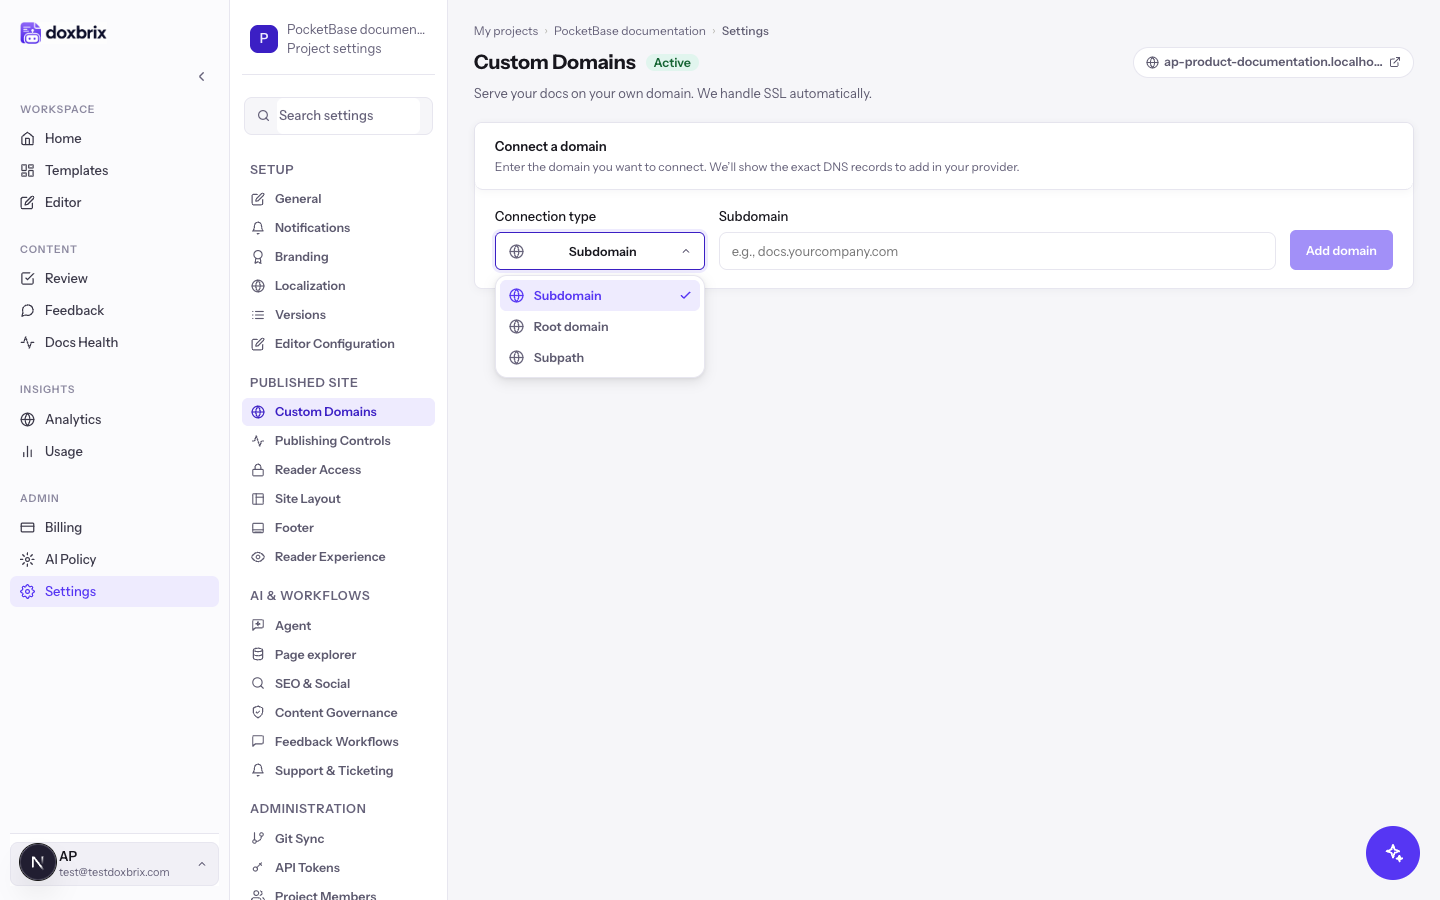
Enter the address for the type you chose. You can paste a full URL; Doxbrix keeps only the host name and lowercases it.
Enter the full subdomain in Subdomain, for example docs.example.com.
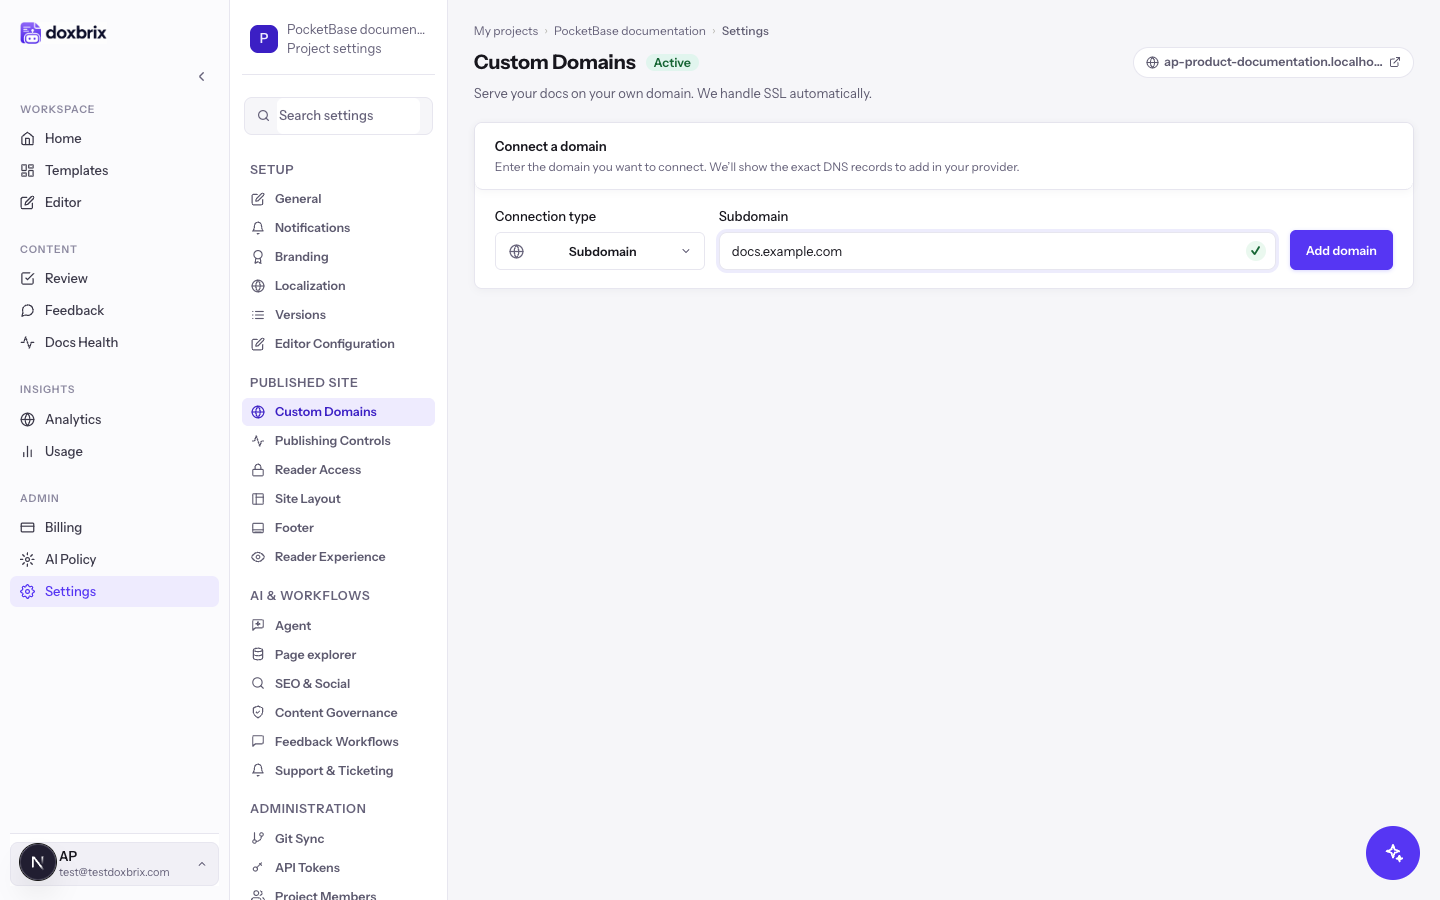
Click Add domain. The button shows Adding... while Doxbrix registers the domain.
- A subdomain or root domain appears under Pending setup with the progress steps Domain added, Add DNS records and Verify & activate, and a table of the records to create.
- A subpath appears under Subpath domains with the status Configured and the proxy rules to add. Continue with Set up a subpath proxy.
Copy each record from the Pending setup table into your DNS provider. Use the copy button next to each value. The table shows Type, Host / Name, Value / Target, TTL and Status. Typical records look like this:
| Connection | Type | Host / Name | Value / Target |
|---|---|---|---|
Subdomain docs.example.com | CNAME | docs | cname.vercel-dns.com |
Root domain example.com | A | @ | 76.76.21.21 |
| Ownership check, when shown | TXT | for example _vercel.docs | the value shown in the table |
Always copy the exact values from your own table; the ownership TXT value is unique to your domain.
docs, or @ for the root. If your DNS provider asks for the full record name instead, use the complete domain, such as docs.example.com. Root domains need an A record because a CNAME is not allowed at the zone apex.After you save the records at your provider, click Verify domain. The button shows Checking... while Doxbrix checks DNS. Next to it, Domain status and SSL status show the progress:
| Domain status | Meaning |
|---|---|
| Waiting for DNS | Doxbrix cannot see the records yet. |
| Finishing setup | DNS is correct and the SSL certificate is being issued. |
| Live | The domain serves your docs over HTTPS. |
| Action needed | Verification failed. The error message appears below the status. |
SSL status moves from Pending to Issued and then Secured. DNS changes can take time to propagate, so click Verify domain again later if the status stays at Waiting for DNS.
Verify
https://docs.example.com in a browser: your published pages load over HTTPS.After the domain is live, set it as the Canonical URL in publishing controls so search engines and the sitemap use it. See Configure publishing controls and SEO indexing.
Set up a subpath proxy
A subpath keeps your main site where it is and forwards only the docs path to Doxbrix. The Subpath domains card shows ready-made rules for Cloudflare (Worker), Vercel (vercel.json) and Nginx, filled in with your domain and path. Pick one, click Copy, and add it to your proxy or CDN. Keep the full path; do not strip /docs.
Every rule does three things:
- Forwards
/docsand/docs/*to Doxbrix, rewriting your host into the path. - Also forwards
/_next/*and/api/*so styles, scripts, search and Ask AI load. - Leaves everything else on your domain serving from your existing site.
For example, the Vercel rule for example.com/docs looks like this; copy your own from the card, because the upstream address depends on your Doxbrix environment:
{
  "rewrites": [
    { "source": "/docs", "destination": "https://app.doxbrix.com/docs/example.com/docs" },
    { "source": "/docs/:path*", "destination": "https://app.doxbrix.com/docs/example.com/docs/:path*" },
    { "source": "/_next/:path*", "destination": "https://app.doxbrix.com/_next/:path*" },
    { "source": "/api/:path*", "destination": "https://app.doxbrix.com/api/:path*" }
  ]
}/_next or /api, those paths cannot be shared between two applications on one domain. Use a dedicated subdomain such as docs.example.com instead. Private docs that use reader login also need /reader-login forwarded.Remove a domain
Click Remove next to the domain. Readers can no longer reach the site at that address; the hosted {slug}.doxbrix.app address keeps working. Remove the matching DNS records or proxy rule at your provider afterwards.
Troubleshooting
For more fixes, see Troubleshoot sites, domains and reader access.