
Organize spaces, groups and navigation
Add spaces, groups, labels and pages in the editor, and rename, move, duplicate, hide or delete navigation items.
You can shape the navigation that readers use from the Content tree in the editor's left pane. This guide shows how to add spaces, groups, labels and pages, and how to rename, move, copy, duplicate, hide and delete them.
Use this guide when you set up a new project's structure or reorganize an existing one. The same menus work in every space.
Before you begin
- Sign in to Doxbrix and open a project in the editor. If you do not have a project yet, create a project first.
- You need a role that can edit the project. See Roles and permissions.
- Know the building blocks. A space is a top-level content section with its own navigation tree. A group is a folder inside a space. A label is non-clickable section text in the tree. For more background, read Core concepts.
Add spaces, groups and pages
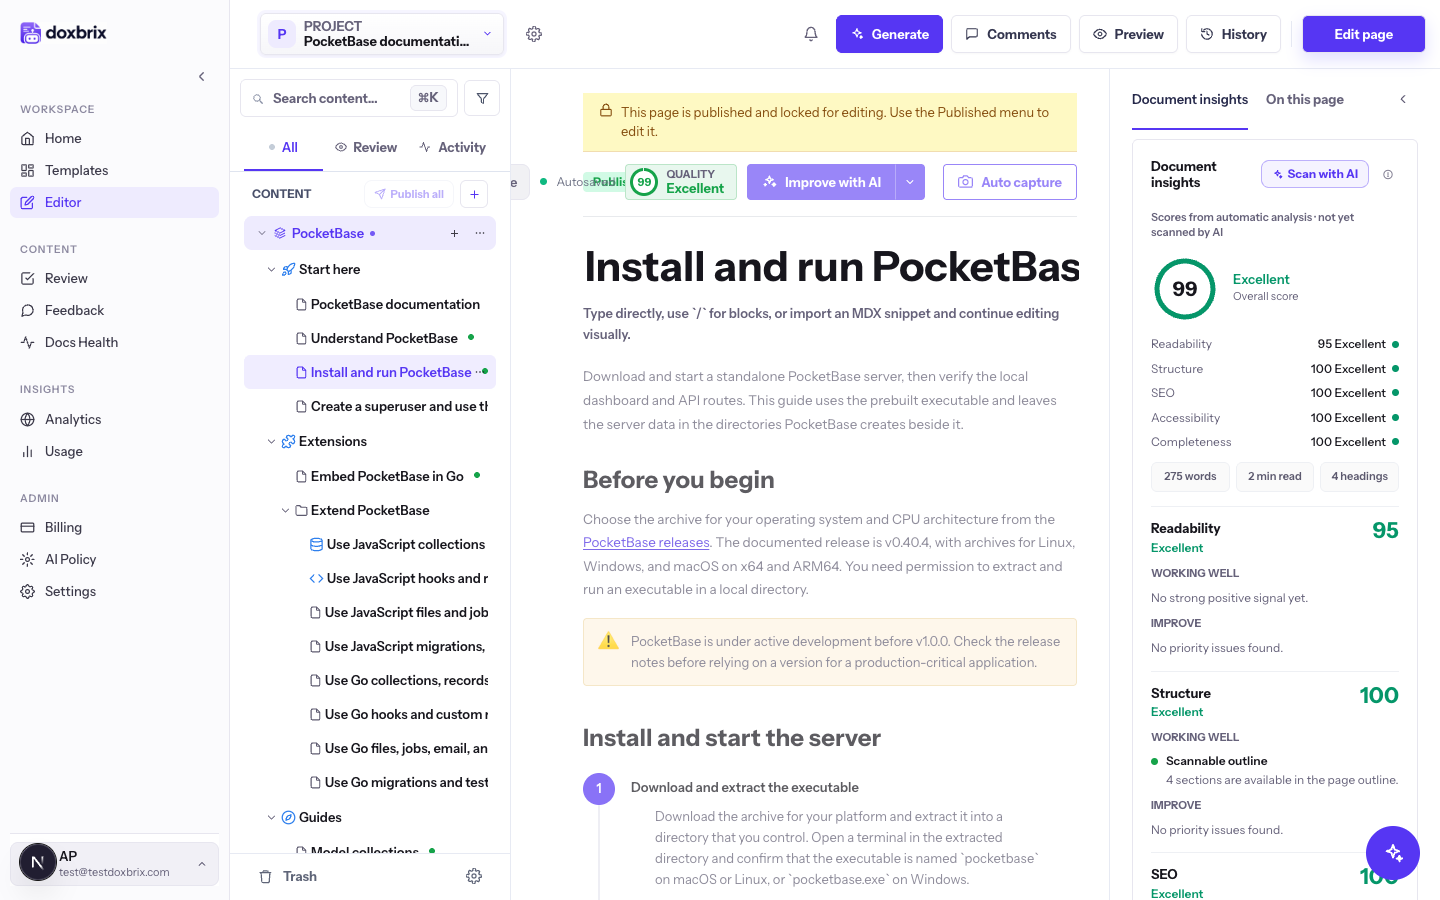
Open your project from the dashboard. The editor shows the Content tree in the left pane, with each space and its groups and pages. A dot next to a page shows its status, such as published.
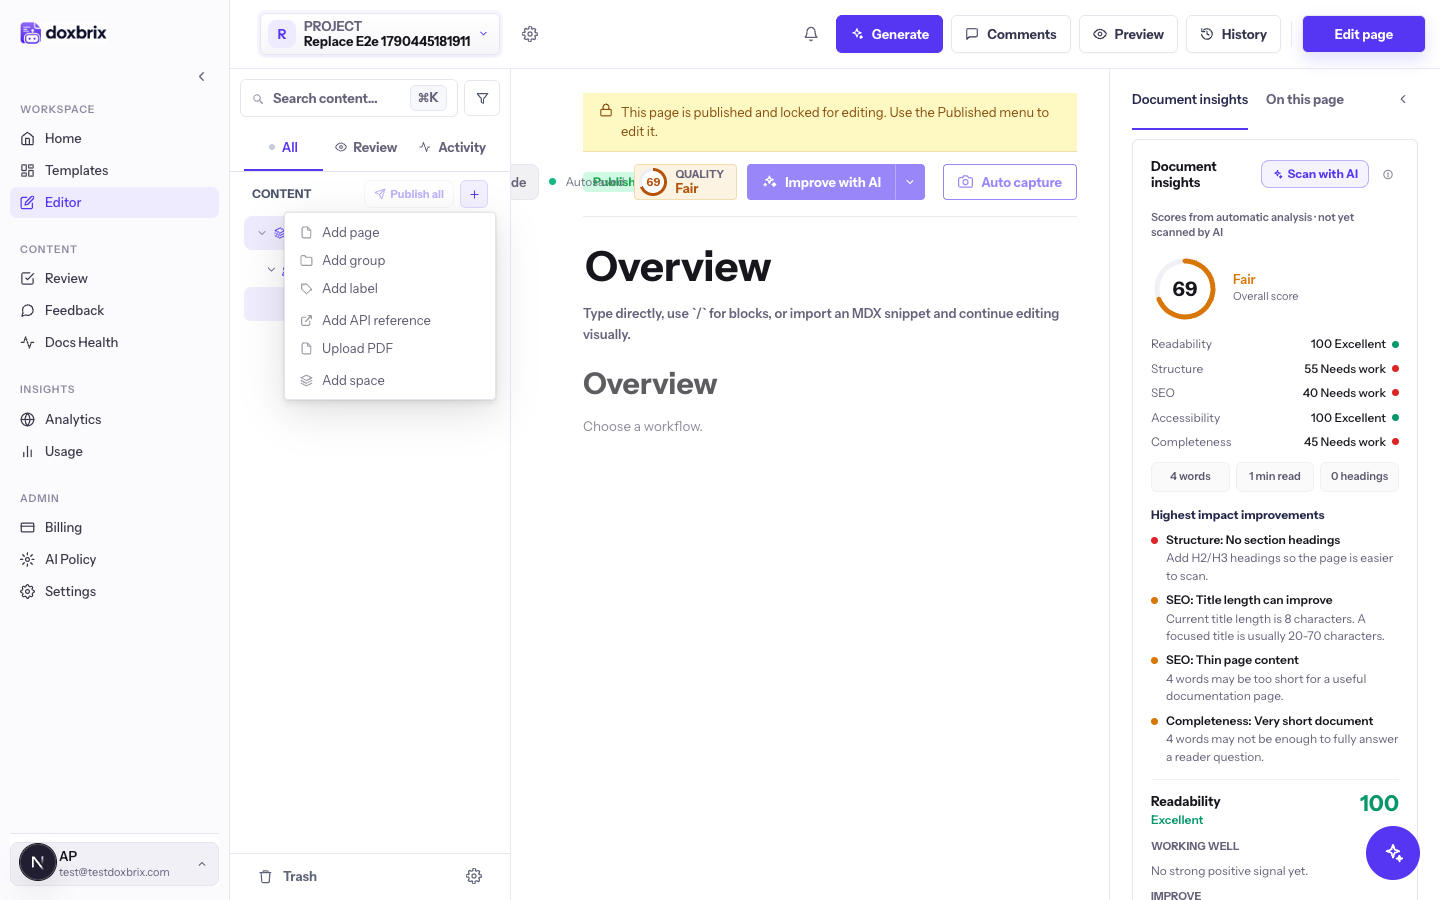
Next to CONTENT, select New page, group, or space (the plus icon). A menu lists the items you can add to the active space:
| Menu item | What it adds |
|---|---|
| Add page | A new page, after you pick a template |
| Add group | A folder that holds pages and other groups |
| Add label | Non-clickable section text in the tree |
| Add API reference | Reference pages generated from an API specification |
| Upload PDF | A page that renders an uploaded PDF |
| Add space | A new top-level space |
Select Add space. In the Space name field that appears in the tree, type a name, such as Guides, and press Enter. Press Escape to cancel.
The new space appears in the tree. To nest a space, open the add menu on an existing space and select Add sub-space, then enter a name in the Sub-space name field.
Open the add menu again and select Add group or Add label. Type a name in the Group name… or Label text… field, such as Getting started, and press Enter.
The group or label appears at the root of the active space.
Select Add page. Doxbrix opens a template picker. After you choose a template, the new page appears in the tree as an untitled page with its title field ready to edit. Type a title, such as Install the agent, and press Enter.
To learn what each template contains, see Start from a template. To bring in an existing file instead, see Import a Word, Markdown or PDF file into a page.
Rename, move and change items
Each item in the tree has a More options menu. The actions differ by item type.
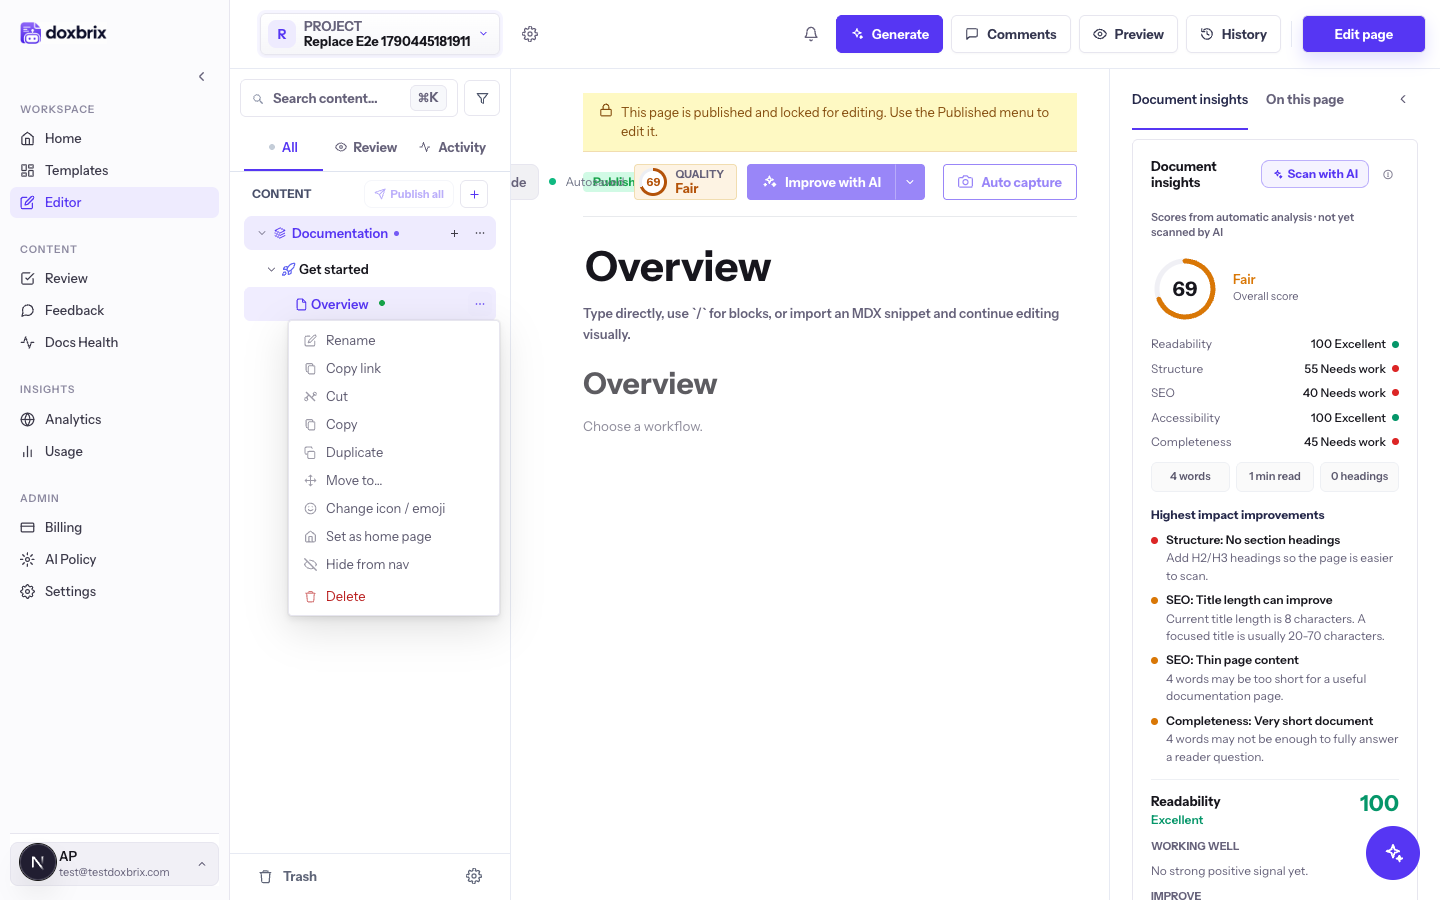
Hover over a page in the tree and select More options. The menu shows the page actions.
Select Rename, type the new title in the tree, and press Enter. Renaming a page in the tree also updates the page title.
Select Move to…. In the Move page dialog, search with Search spaces, groups, and pages... or browse the tree, and select a destination. The dialog shows Destination: followed by your choice. Select Move page to confirm.
You can also select Cut or Copy, then open the More options menu on a destination space or group and select Paste here. A copy can go to any space in the same project, and its destination must be a space root or a group.
Select Duplicate on a page, or Duplicate group on a group. The duplicate appears in the same location, and a duplicated page gets the suffix (copy) in its title.
Select Change icon / emoji, then search with Search icons… or Search emoji… and pick an icon. The icon appears next to the item in the navigation.
Select Hide from nav to keep a page or group in the project but remove it from the navigation. To bring it back, open More options on the hidden item and select Show in nav.
Menu actions by item type
| Item | Actions in More options |
|---|---|
| Page | Rename, Copy link, Cut, Copy, Duplicate, Move to…, Change icon / emoji, Hide from nav, Delete |
| Group | Rename, Duplicate group, Move to…, Hide from nav, Delete group, and section review actions |
| Space | Rename, space review actions, Delete space |
Copy link copies the page's relative path, such as /install-the-agent, to your clipboard. Group and space menus also include review actions, such as Submit section for review or Publish section, which count the drafts inside. See Submit, review and approve pages.
Delete items
Open More options on the page and select Delete. The Delete "<page title>"? dialog explains that this removes the page from your documentation and cannot be undone. Select Delete page to confirm, or Cancel to keep it.
Open More options on the group and select Delete group. The dialog asks what should happen to the pages inside the group:
- Move pages up deletes only the group and moves its pages and subgroups up one level.
- Delete everything deletes the group and every page inside it.
- Cancel keeps the group.
Open the space's More options menu and select Delete space. Delete a space only when you no longer need any of its pages.
To act on several pages at once, select them in the tree and use the bulk actions to move, copy or delete them. When you delete more than one page, the dialog confirms that it removes the selected pages and cannot be undone.
Verify
- The tree shows the new spaces, groups, labels and pages in the order you expect.
- Open a preview to check how the navigation appears to readers. Hidden items do not appear in the navigation.
- After you publish, the reader site uses the same structure. See Publish and edit published pages.