
Import existing documentation
Create a Doxbrix project from docs you already have: a local folder, a Git repository, ReadMe, GitBook, Notion, Confluence, MkDocs, Docusaurus, or any docs site
Import converts documentation you already have into a new Doxbrix project, with its pages, images, and navigation. Your original site, repository, or export is never modified. Use this guide when you are moving to Doxbrix from another platform and want to edit, review, and publish that content in the Doxbrix editor.
Before you begin
- Sign in to Doxbrix with an account that can create projects in your workspace.
- Have the source ready. The table shows what each source needs.
| Source | What you provide |
|---|---|
| Local folder | A folder on your computer with Markdown, MDX, HTML, and images. Doxbrix packages it in your browser and uploads it once. |
| Hosted docs repository | A Git repository with docs.json and MDX files. |
| Docusaurus | The Docusaurus repository (sidebars and MDX). |
| GitBook | The repository behind your GitBook space (SUMMARY.md and pages). |
| MkDocs | The MkDocs or Material for MkDocs repository (mkdocs.yml). |
| ReadMe | A ReadMe API key (rdme_…). It is used once to import and is never stored. |
| Notion | A .zip from Notion's ••• → Export → Markdown & CSV, with subpages included. |
| Confluence | A .zip from Confluence's Space settings → Export space → HTML. |
| Docs URL | The public URL of any docs site, such as https://docs.example.com. |
For the repository-based sources, you connect your GitHub or GitLab account during the import. Doxbrix reads the repository once and converts it. See Connect GitHub and GitLab accounts.
Limits
- An uploaded archive (Notion, Confluence, or a Markdown or HTML
.zip) must be 60 MB or smaller. - A local folder must be 60 MB or smaller after Doxbrix packages it.
- Your plan's import page limit caps how many pages you can select. When a cap applies, the selection counter shows it as, for example,
40 / 50 selected, with an Upgrade link. See Plans and limits reference.
Steps
On the dashboard, select New project. The Create new project page asks What would you like to create?
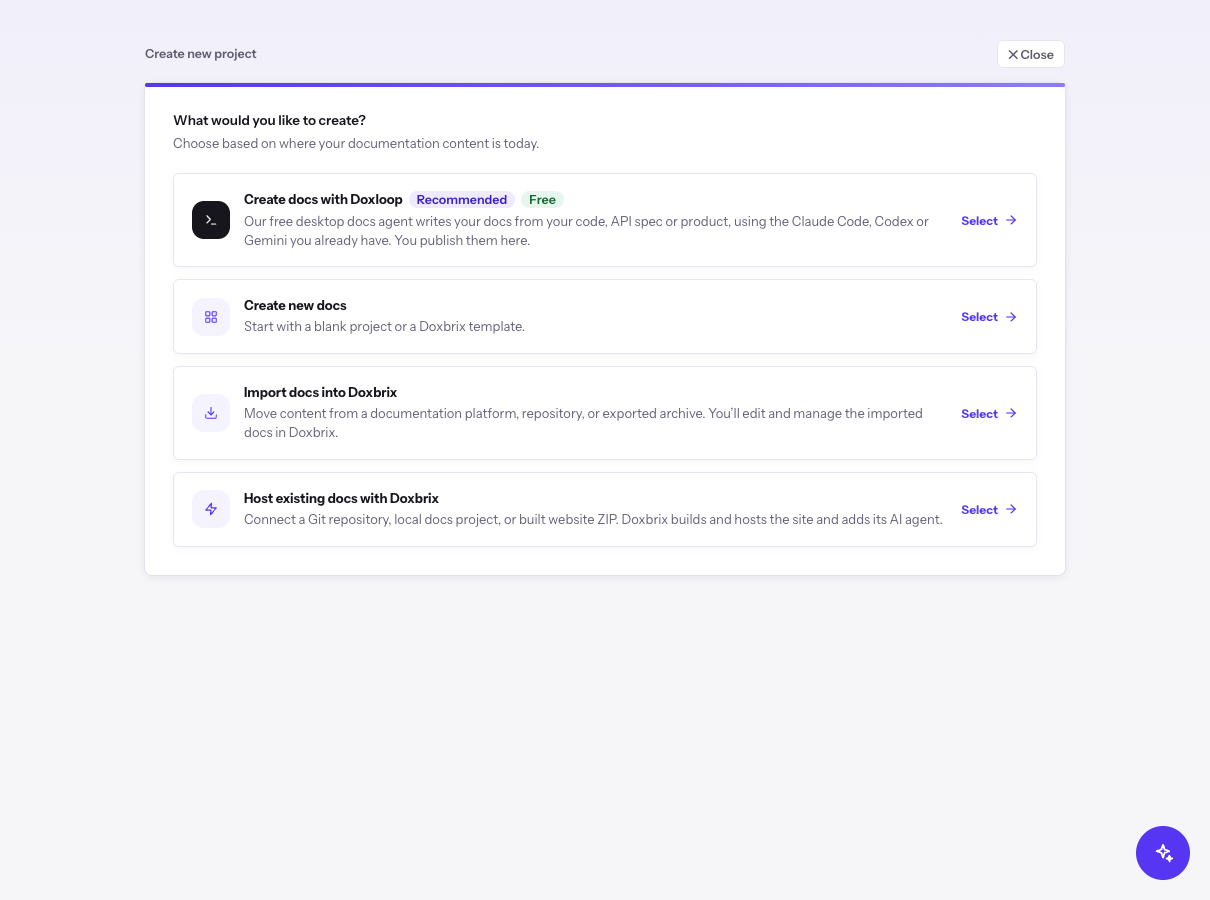
Select Import docs into Doxbrix. The wizard moves to the Import step, Where are your docs?, and the stepper shows Start, Import, Name, Brand, and Access.
The step lists Local folder under On this computer, the platforms under Coming from a platform?, and a Docs URL field for any other site.
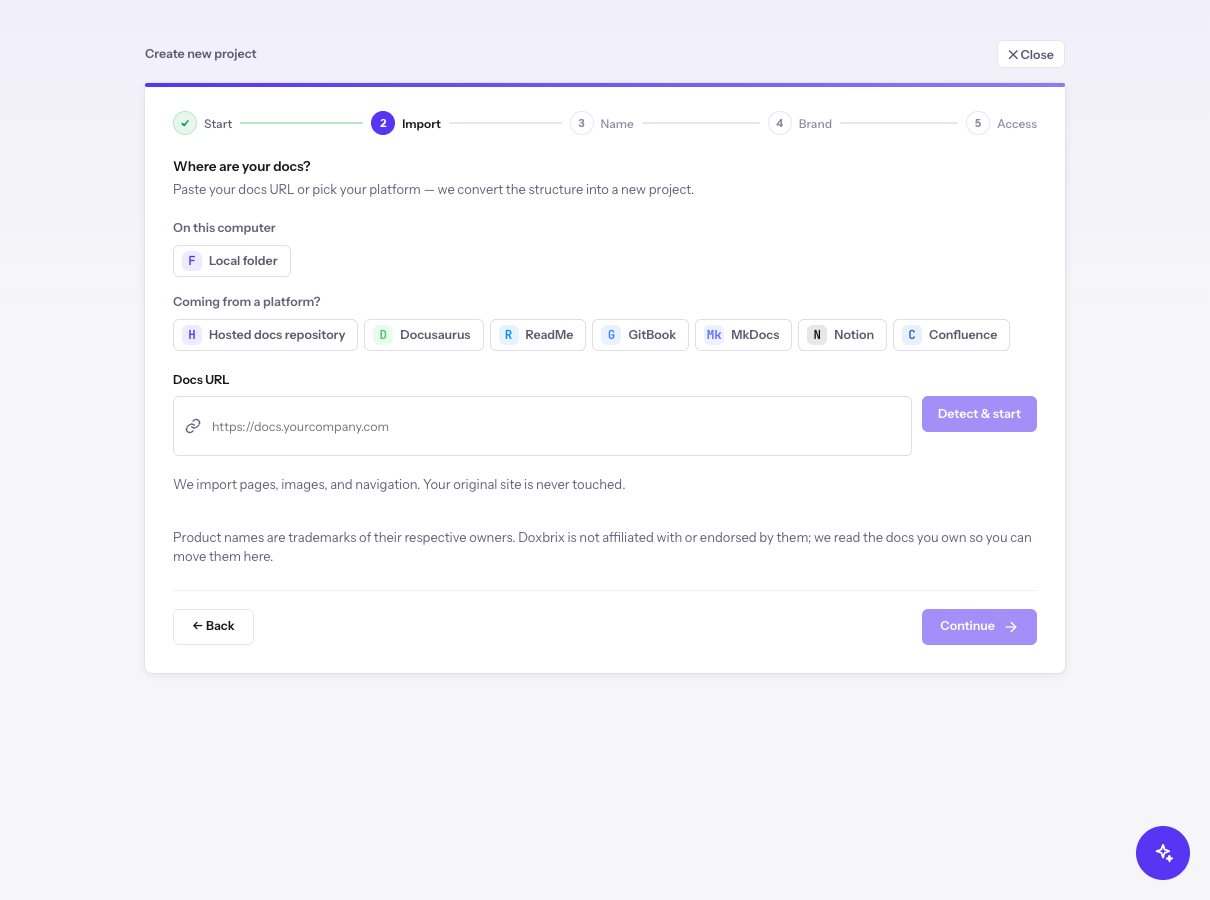
Choose one source. The path you take depends on where your docs are today.
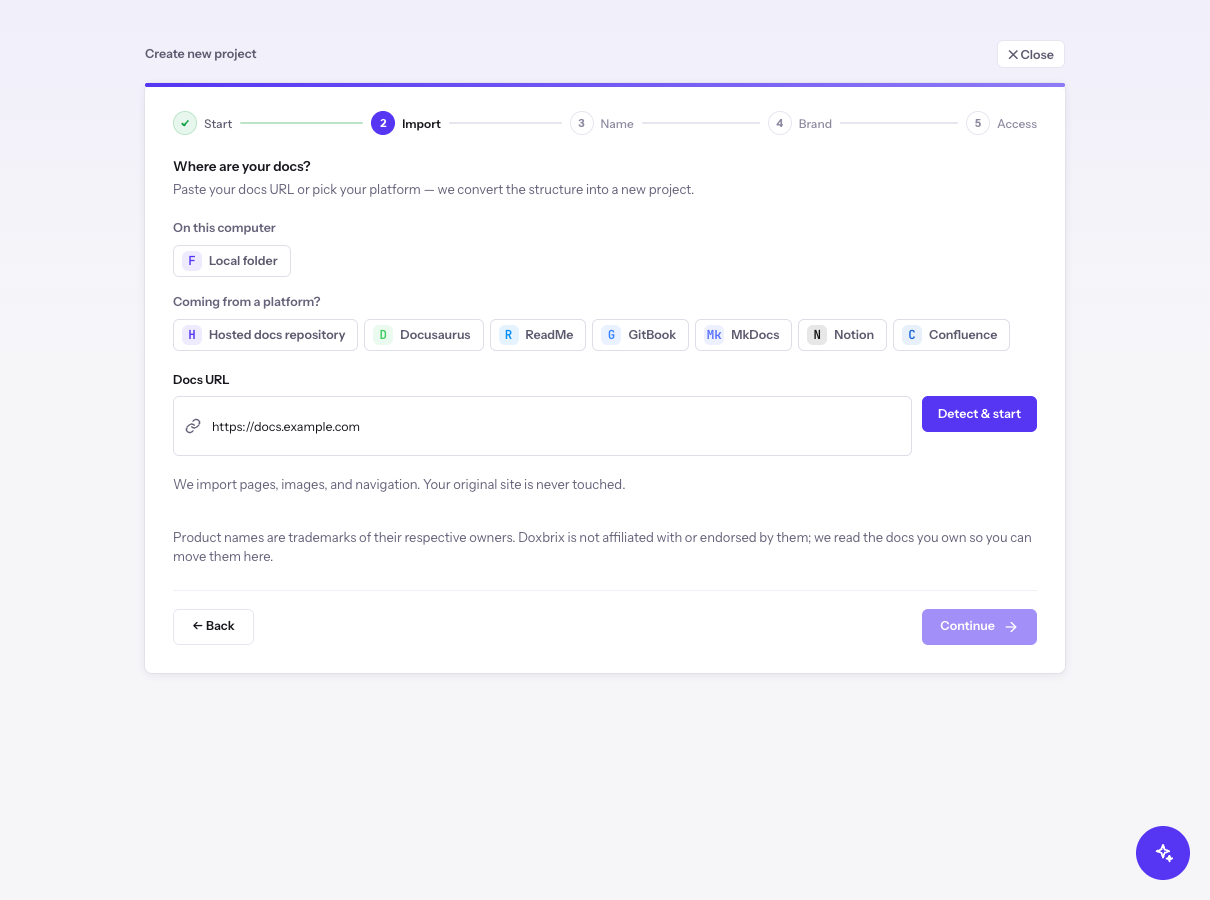
Enter the site address in Docs URL, for example https://docs.example.com, and select Detect & start. Doxbrix reads the site's structure without downloading page bodies yet.
If the site renders its navigation with JavaScript, Doxbrix renders it in a headless browser first, which takes longer.
After analysis, Doxbrix shows the discovered structure as spaces, groups, and pages. Select the pages to import. The counter shows how many pages are selected and, if your plan has a cap, the limit.
Select Continue and complete Name your project, Brand & style, and Access & editor. For details, see Create a project.
Select the import button on the last step. For a URL import it reads Import N pages, for example Import 24 pages. For the other sources it reads Import & convert. A progress view follows the import while Doxbrix fetches and converts each page.
Verify
When the import finishes, the editor opens on the new project. Confirm that:
- the space and page tree matches the structure you selected;
- a few sample pages show their text, code, and images correctly;
- internal links point to the imported pages.
Check each page's status chip in the editor, and review the content before you publish. See Submit, review and approve pages.